Wagasa is known to have come from China during Heian-Period(794-1192) along with Kanji. Wagasa that is drawn on the picture scroll of the time is different from Wagasa now. It is an umbrella (lid, shade), such as a canopy or a cover, and was used as a talisman and symbol of superiority and power. The umbrella did not have a function of closing.
Wagasa was able to close from Azuchi-Momoyama-Period(1568-1600). Although umbrella is considered natural to close, it requires a high leveled techniques. It is especially unusual to have such complicated function as Wagasa when it comes to required techniques.
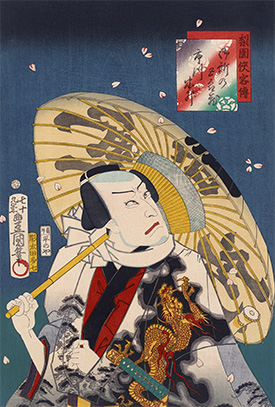
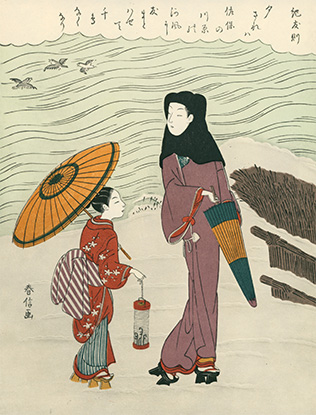
Wagasa was commonly used since the Mid-Edo-Period.(1603-1868) It is drawn in Ukiyoe from the time period, proving that Wagasa became a social to daily life.
Wagasa was also used as a fashionable accessory. Wagasa started to become stylish. Because of its beauty it was even used in Kabuki, and Tea-ceremonies.
From an essential of daily life to fashionable artifact, Wagasa developed into a completely unique tradition of Japan.
Kyoto is one of the oldest regions in Japan, and the earliest region that started using Wagasa.
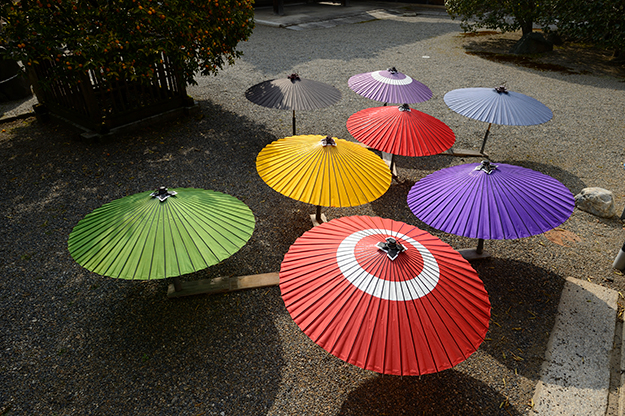
A new type of Wagasa (Kyo-Wagasa) came into existence as Wagasa evolved to fit the unique aesthetics sense that people of Kyoto has.
It is unique of its elegance emphasized by the simple design without excess decorations. Finest materials and techniques are used to finish up the product.
Although Wagasa had a time when its produce rate was over 10,000,000 pcs. per year, its produce rate dropped dramatically in Meiji-period(1868-1912) as western umbrella (modern umbrella) was introduced.
As a result, Hiyoshiya is currently the only manufacturer of Wagasa in Kyoto and Wagasa was no longer essential to daily life.
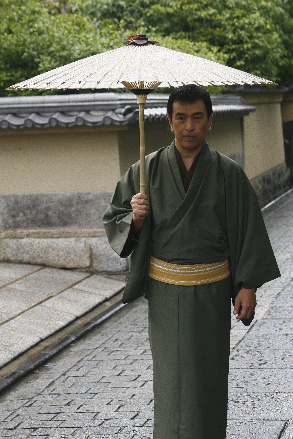
However, Wagasa is still valued as hobby item, and is used for props for dances and plays, traditional events, ceremonies, tea-ceremonies, commercials, displays, and gifts.
Wagasa uses natural materials; Washi, Bamboo, Wood, Linseed oil, Lacquer, astringent, and tapioca.
Each individual professionals of Bamboo frame structuring craftsman, Washi-paper crafts man,
and Wagasa craftsman takes weeks and months to produce a single Wagasa.
There are as many steps as the numbers of umbrella ribs. Even when it is divided into big sections,
there are a lot as explained below and if sectioned to full detail, there are more than dozens of steps.
Since it goes through a complicated process, each step requires intricate and high leveled techniques.
 Shitago
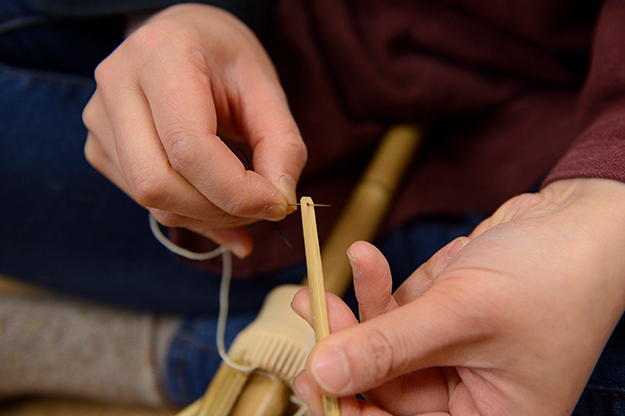
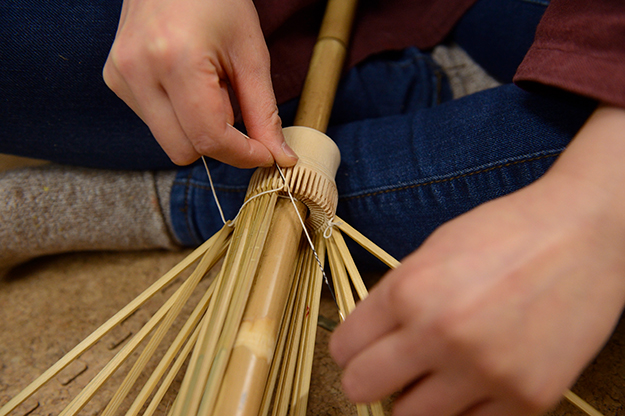
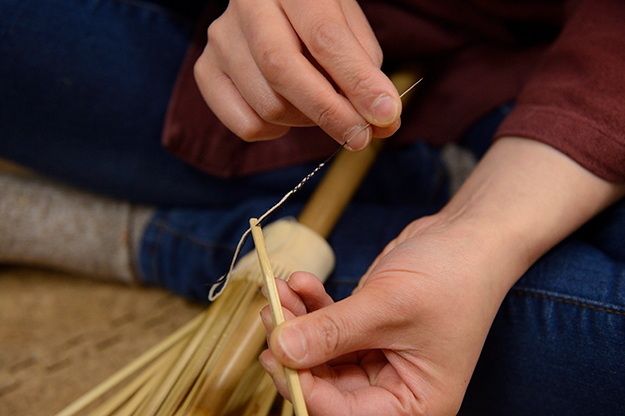
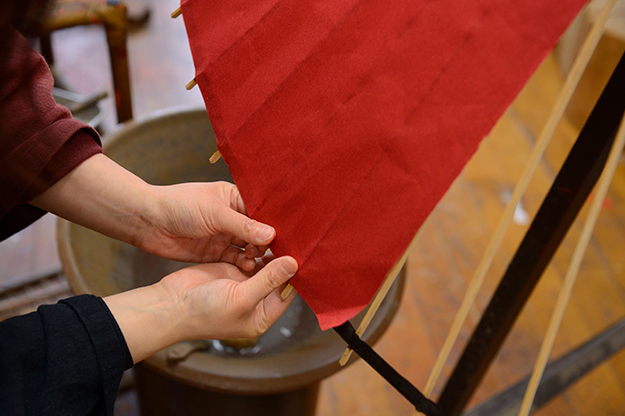
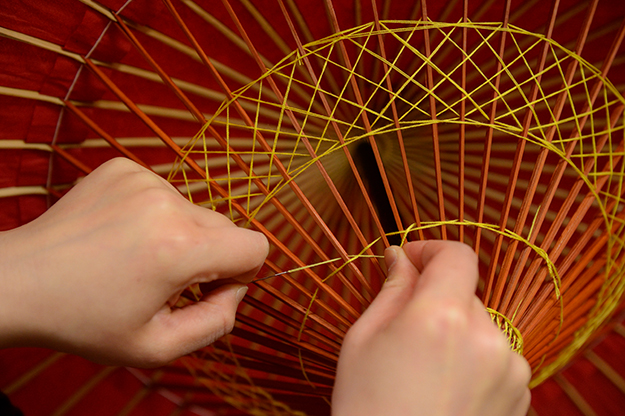
The first step is called “Shitago” which is a process of making the base, Honegumi of the Wagasa.First, put together Shita-Rokuro and Kobone, using thread and needle. The thread will be threaded one by one. Repeat the process by putting Ten-Rokuro and Oya-Rokuro together. After this process, insert the middle section of the Oya-Bone into the vertical crack at the tip of the Ko-Bone and connect it with a thread. This will allow Wagasa to be opened and closed.
At last, thread through the holes on the rip of Oya-Bone and Shitago is complete.
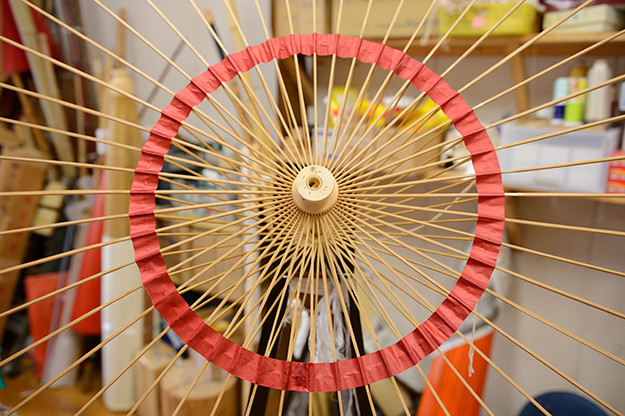
 Makuwari
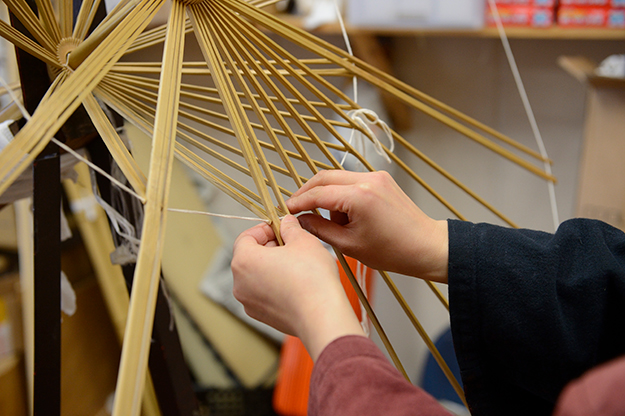


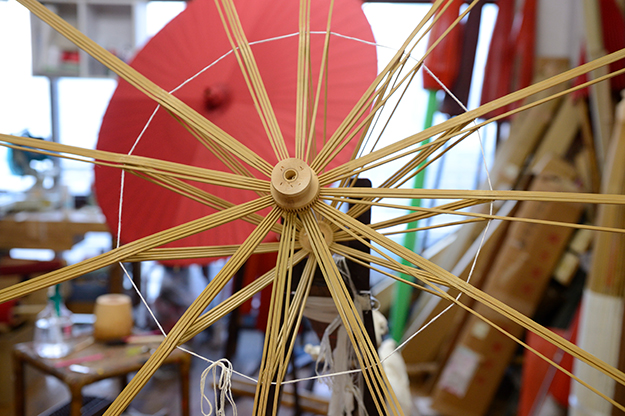
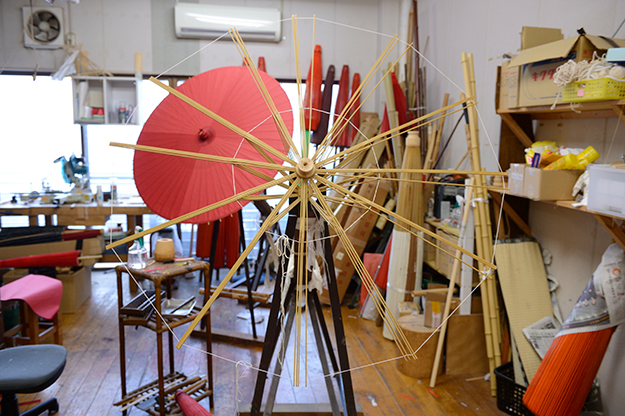
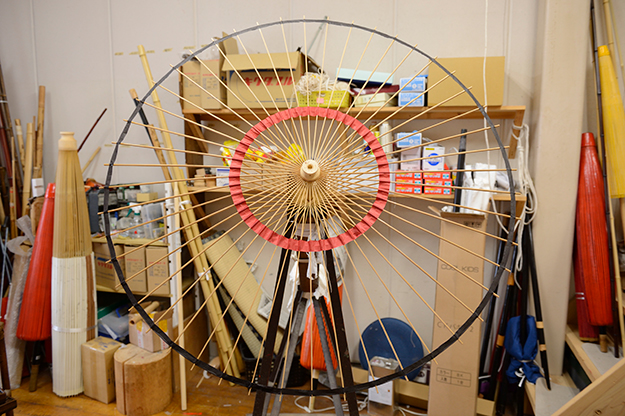
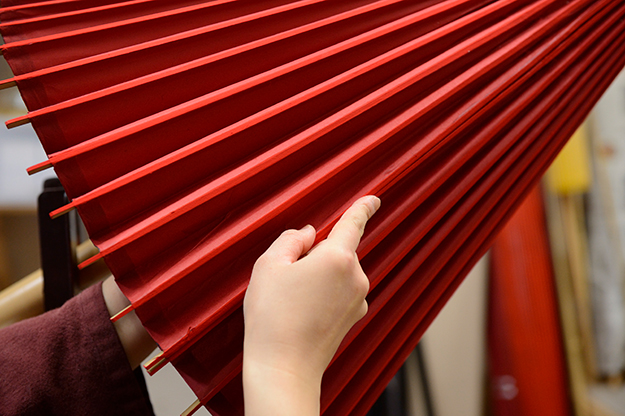
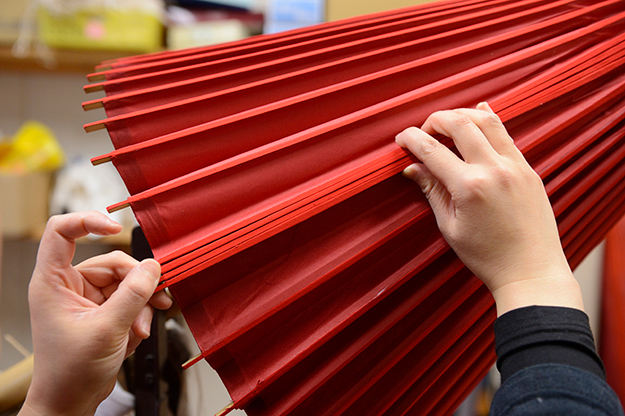
Next, spread the Hone(bone of the umbrella) by spacing it evenly. Although it may seem easy, it requires skills to adopt the habit of the material which requires long-term training.
In order to make opening and closing easy, the materials must be evenly spaced.
 Nokigami
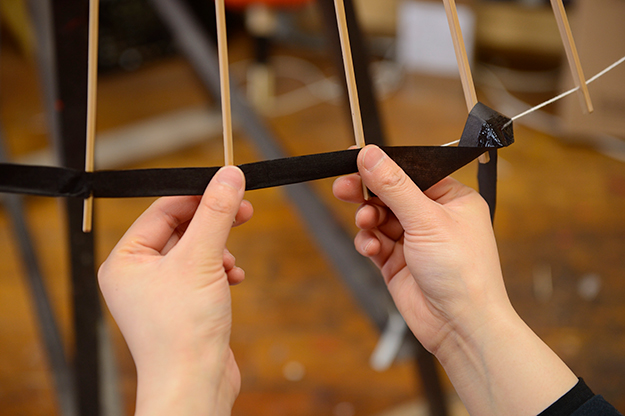
 Nakaoki-Bari
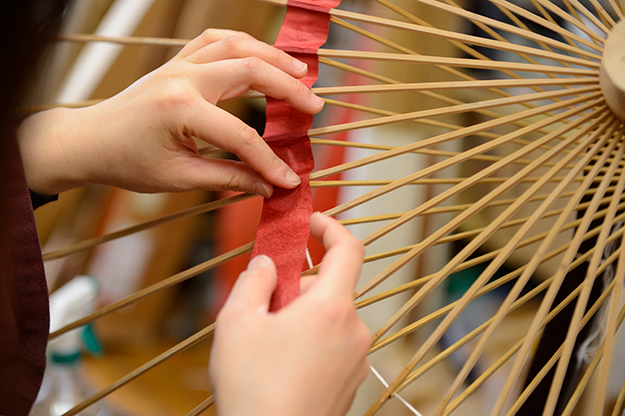

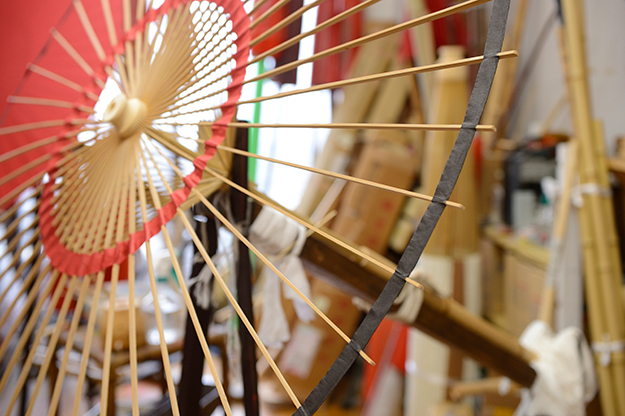
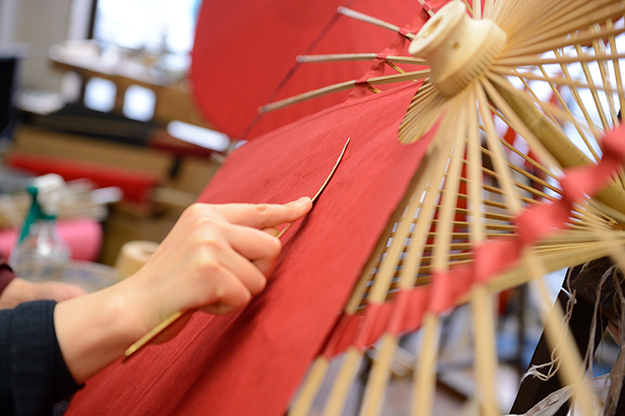
The Nakaoki-Bari plays the role of protector. By attaching Nakaoki-bari, it is possible to avoid damage to the Doubari caused by friction between Oyabone and Kobone.
It is also proposed as a decoration.
 Doubari
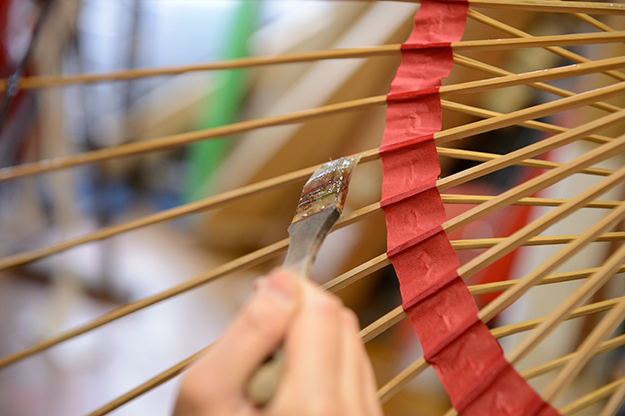
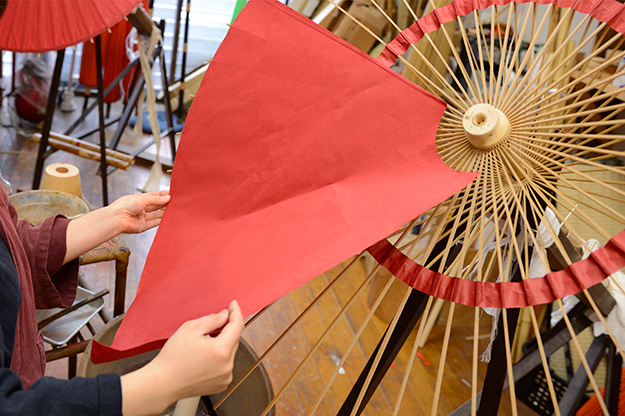
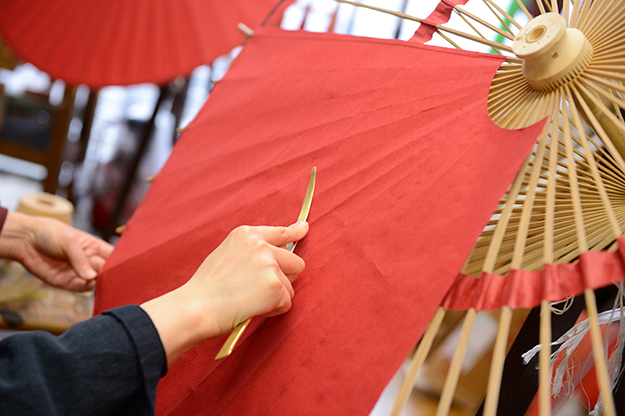
The size of the washi varies with the different sizes and types of wagasa.
Wagasa of common sizes such as Bangasa, Janome-Gasa requires 4 washi papers. Nodate-Gasa which is Large in size requires up to 60-70 washi papers. During the process, special tool called “Matabera” is used which requires long-term training to be able to use it properly.
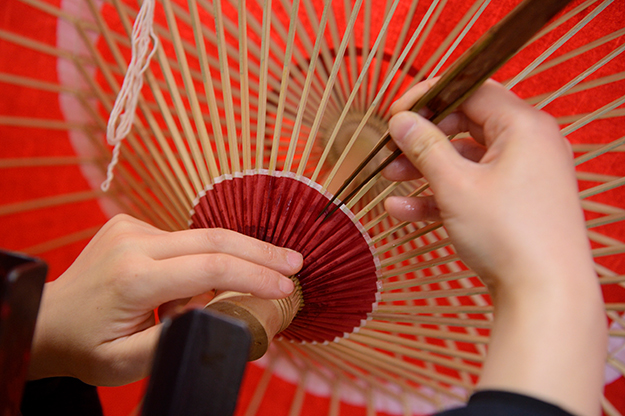
 Mino
Mino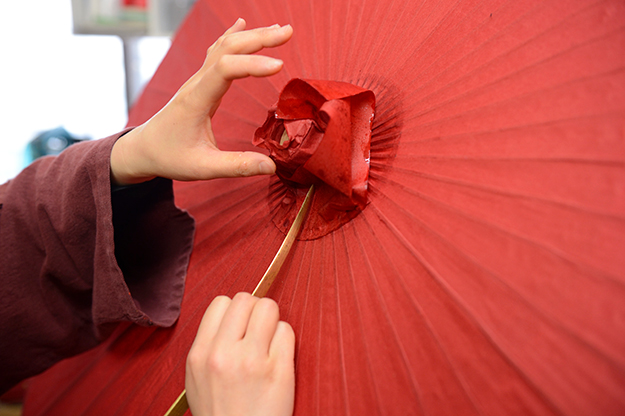
During the process of Doubari, a space is left between Ten-Rokuro and Doubari. By doing so, it adjusts Karamaki in to its place. Mino requires intricate techniques as washi is attached to the space while making folds.
This process can only be done using washi due to its special property.
The folds allow movements of opening and closing and adds flexibility to avoid any damage on the washi.
 Temoto
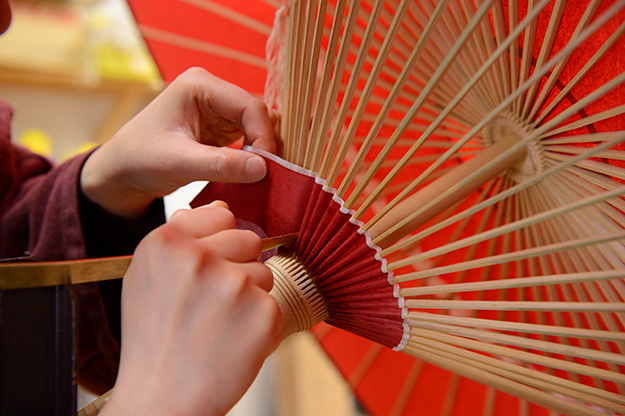
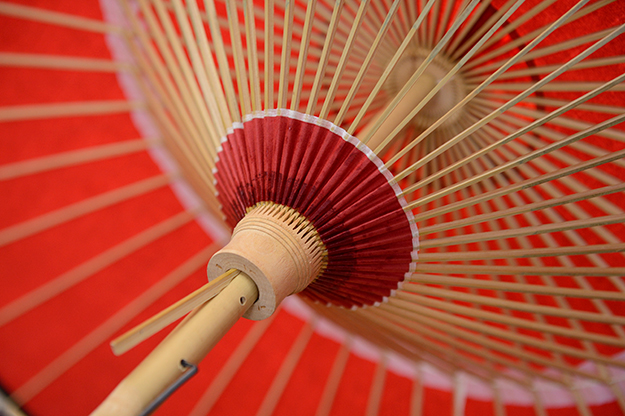
This allows movement and is a part of decoration.
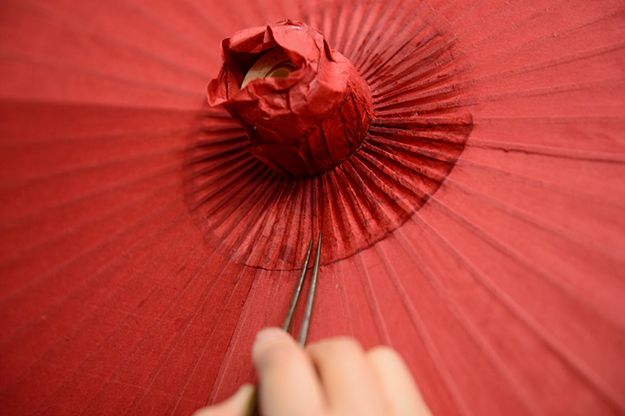
 Sugatadzuke
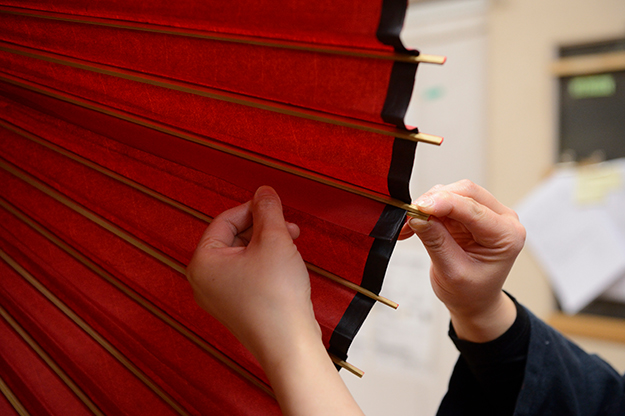
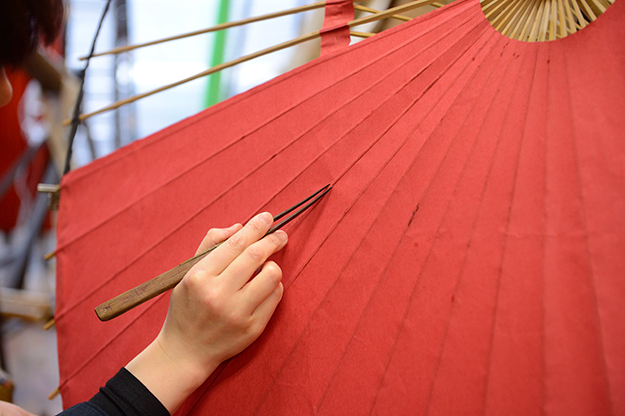
We make sure to fold it along the ribs so that the washi will have proper folding habit. The folded umbrella is strongly tied with threads to shape it. This is called “ugatadzuke”.
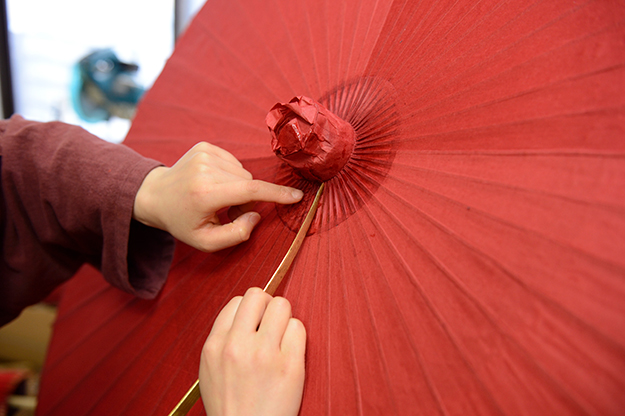
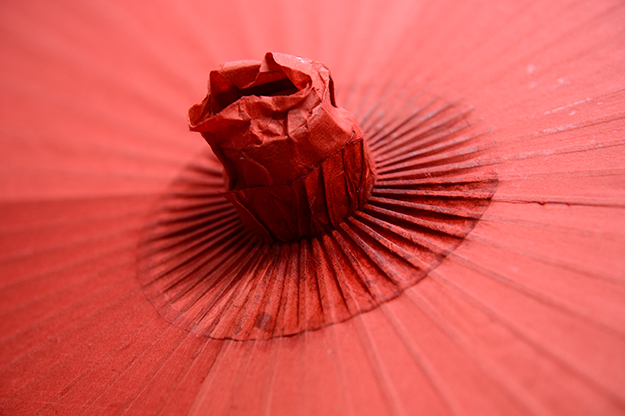
 Atama-Zutsumi
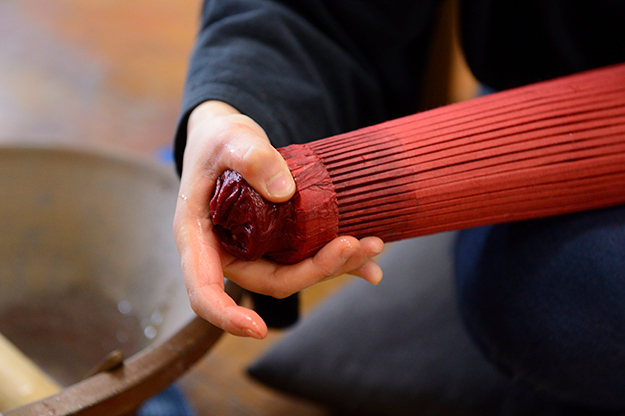
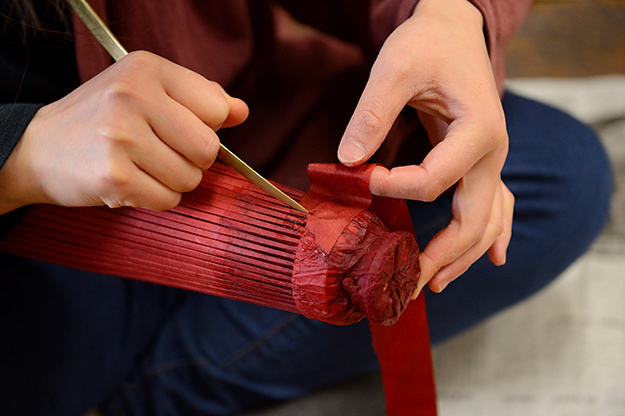
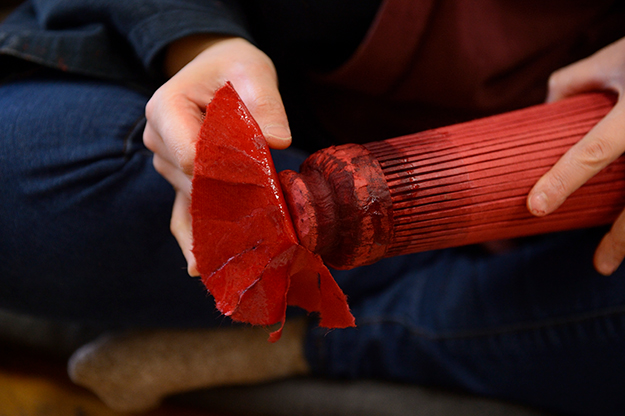
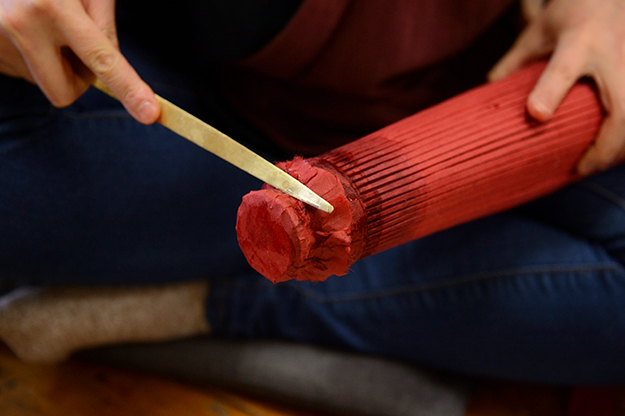
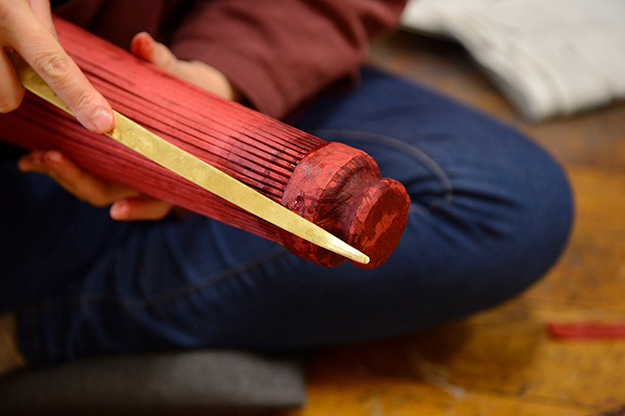
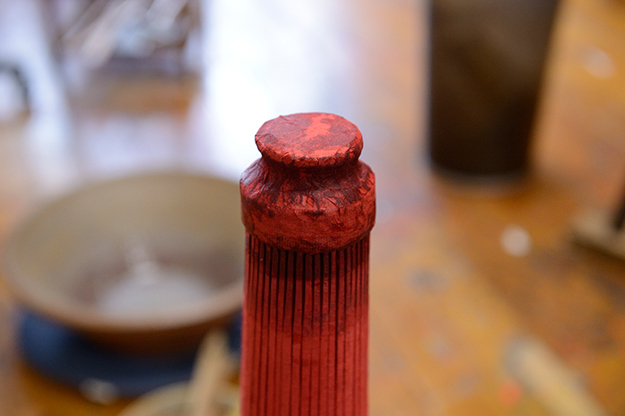
Make sure that the glue does not directly contact Tenrokuro. As mentioned in the section of “Mino”, washi and Rokuro must not be fixed; to avoid damage to the washi when the umbrella is opened or closed. This process is to be proceeded in “Sugatazuke”
 Hone-UeNuri
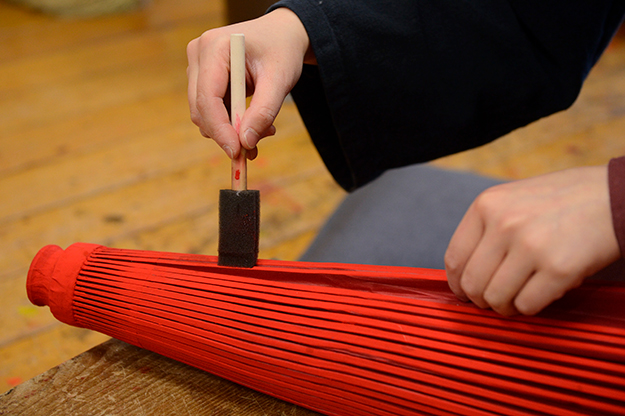
Before the process, apply the base. Depending on the type and use of the umbrella, types of paint varies. Depending on the types of paint used, the order of the process may differ from the process explained above; “Abura-Hiki”.
 Abura-Hiki/Tenpi-Boshi
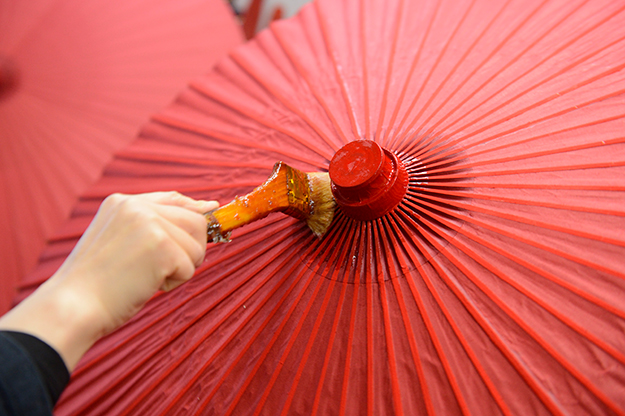

according to the weather and seasons, the amount of time taken to dry varies.
 Shiage
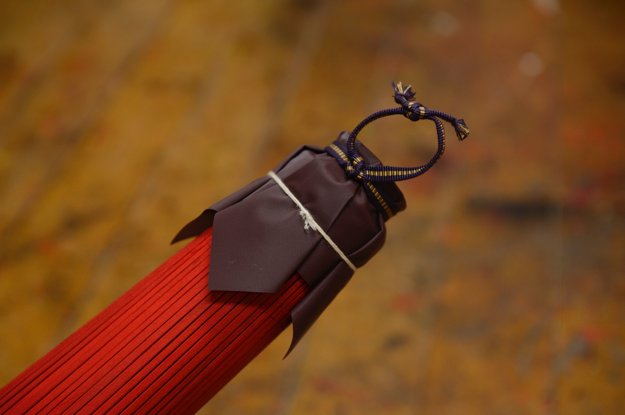
Attach the nylon fabric on Ten-Rokuro. Secure it with cotton thread and attach Sanada-Himo which is used to hook the umbrella. This part is called Kappa.
Kappa used to be attached using oil paper. How ever, since nylon was introduced, Kappa started to shift towards nylon material due to and In the past, oil paper was used for kappa.
Wagasa has its uniqueness that can not be replaced by machines. It requires delicate process which requires professional techniques, as well as natural materials that are used in the product.
We strongly recommend to take it in your hand and feel the beauty and culture that has been carried on throughout the Japanese history.